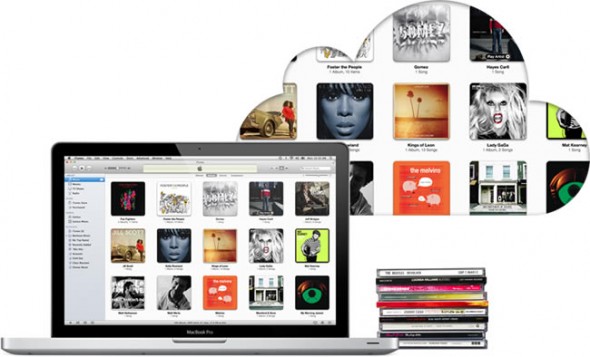
So you’ve signed up for iTunes Match and you’ve been enjoying access to all your music from the cloud, but did you know that there was another great benefit from the service?
You can easily upgrade all your lower audio quality locally stored music to iTunes-quality 256kbps AAC files. As long as an audio file has been matched and made available on iCloud you can get yourself a spanking high-bit-rate quality copy.
In this guide we’ll show you how you can quickly and easily upgrade your entire local music library with iTunes Match by first batch-deleting all low-bit-rate files and then downloading 256kbps tracks from iCloud. Note that iTunes will not overwrite any of your tags, the new high quality files you will download below will maintain all your original metadata and even play counts.
Everything we’ll be doing in this guide happens inside iTunes, so first fire up the software and read on.
Step 1 (optional): Backup
This is an optional step as, after iTunes Match has run, your music library is essentially already backed up in iCloud. However, there are some rare cases where the match in iCloud is slightly different from the version that you might have on your computer, this could happen with remixes for example. So if you are an obsessive collector, first make a copy of all your music files to a different location.
Step 2 (optional): Check for 96kbps or lower bit-rate files and convert
According to Apple’s specifications, music that’s encoded at 96kbps or lower is not eligible for iTunes Match. So if you have some really “crappy” quality files these won’t initially be made available on iCloud.
![]() These files will be displayed with the iCloud status icon you see on the right.
These files will be displayed with the iCloud status icon you see on the right.
You might want to first check on the extend of the problem. To do this, right-click (or control click) on the column title bar and then click on “Bit Rate”, to show the bit rate column. To make life easier you can drag this column close the iCloud status column (the one marked by a cloud icon of course).
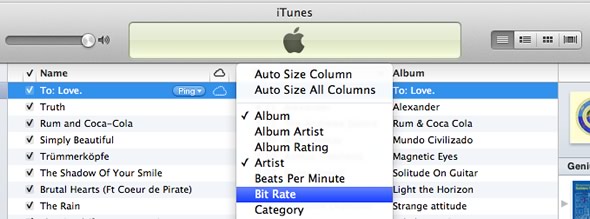
Now click on the Bit Rate column to sort by ascending bit rate. There you will see any files that have a bit rate of 96kbps and below, which should also be marked by the ineligible iCloud icon.
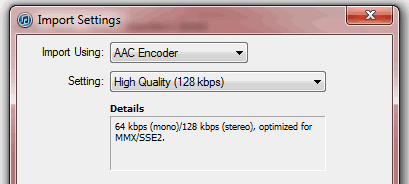
To get around this limitation and make all your music available on iCloud, first go to iTunes > Preferences (Mac) or Edit > Preferences (Windows) and click on “Import Settings” on the first tab. For our purposes select “AAC Encoder’ and “High Quality (128 kbps)”, click OK and close preferences.
Now select all those files with bit rate of 96kbps and lower that also have the ineligible icon, right-click and select “Create AAC Version”.
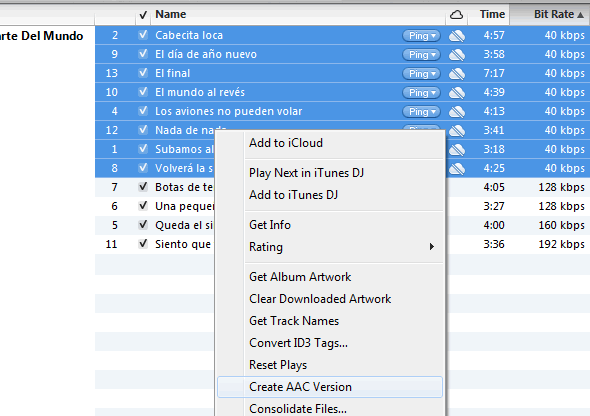
As soon as the conversion is finished you will have two copies of each file, and iTunes Match will immediately start work on matching the newly created tracks. If all goes well you will end up with matched files available on iCloud. You can go ahead and delete the old files, leaving only the new 128kbps ones, we’ll soon be upgrading these to high quality 256kbps versions.
Step 3: Create a Smart Playlist
Here is where the real fun begins.
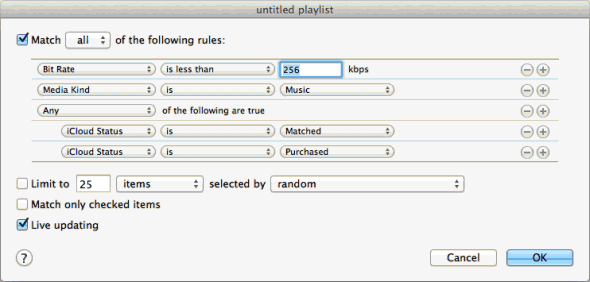
To make life easier, we’ll create a smart playlist showing us all those files that can be upgraded using iTunes Match.
Go to File > New Smart playlist. In the first line select “Bit Rate” “is less than” and type 256 (kbps).
Click on the plus sign on the right to add another condition and now select “Media Kind” “is” “Music”.
Now on a Mac hold the option key and click on the plus sign, on a Windows PC just click on the three dots at the far right. Now select “Any” from the first dropdown and on the following line “iCloud Status” “is” “Matched”. Click on the plus icon at the end of this line and in the new line select “iCloud Status” “is” “Purchased”. Your smart playlist should now look like the image below. Hit OK and name your playlist.
Step 4: Delete all the tracks in the new Smart Playlist
OK, now take a deep breath, we’ll be deleting all the files in this playlist, but that’s OK as all these files are also stored in iCloud. Note, if you don’t feel comfortable with the instructions below, try them out by selecting a small number of files first.
Be sure to select your new playlist from above and hit command + A on a Mac or control + A on a Windows PC to select all tracks in the playlist.
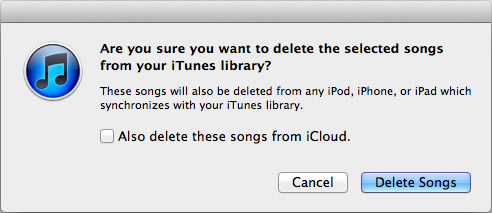
Now on a Mac press option + delete, shift + delete on Windows, to move all these files to your Trash (Recycle Bin). Make sure you leave the “Also delete these songs from iCloud” box unchecked, we want the files in iCloud so that we can download them in the next step. Now hit “Delete Songs” and ‘Move to Trash’ (Mac) or ‘Delete File’ (Windows).
As the files are being deleted you should now see a download icon, marked by the downward-pointing arrow and the files should read 256kbps in the Bit Rate column.
So you should go from this:
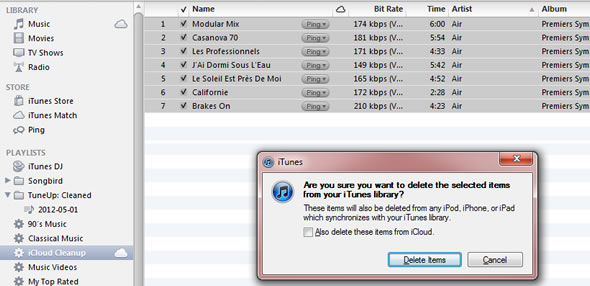
To this:
![]()
Step 5: Download your new 256kbps high-quality tracks from iCloud
All you now have to do is download the high-quality 256kbps music files from iCloud.
Simply go to your entire music library, by hitting “Music” at the top left. Now sort your music by iCloud status by clicking on the cloud icon and scroll down until you see the download cloud icon.
Select all of these files, right click and hit on “Download’.

Depending on how many tracks you will be downloading it could take a while, if it’s in the thousands, then you might want to leave your computer on overnight to finish the process.
And that’s it, pat yourself on the back and enjoy your new DRM-free high-quality tracks.

